Kit Building to the Next Level
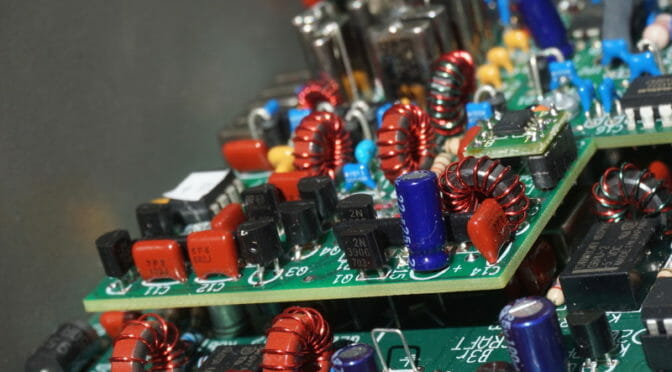
Just a few days ago our soldering irons were hot and brows furrowed as we assembled our Morse Tutor Touch Keyer kits from Steve Elliott, K1EL. NARS had done a good job of packaging the kits by supplying builders with printed instructions, and batteries. Nearly everyone had completed their kit in an hour or so.
Social events like this, where club members share the experience, are a nice way to spend an evening, but there is much more to the world of kit building. Ham radio provides one of the last bastions of building useful electronic devices at the component level. Other hobby and STEM efforts are confined to using completed boards for sensors, displays, and processors. Groups such as FIRST Robotics teams work with pre-packaged board solutions, their design process limited to selecting off-the-shelf devices and gluing them together with software. This is not to criticize such efforts. STEM groups and the whole Maker community do amazing things with this level of abstraction. Ham radio seems to be one of the only places left where our projects and understanding can be more granular.
There is a feeling almost impossible to convey when you use a radio that you constructed with your own hands. Even from a kit, where the circuit design, board layout, and part selections were done by others, there still exists a pride of ownership from the assembly. Each time the radio is used one thinks, “I made this.”
There are radios that are quite nice, but limited in utility, such as the RockMite. The original RockMite design was done by Small Wonder Labs run by Dave Benson, K1SWL. The basic radio was only $25 and consisted of a board, bag of parts, and a page of instructions. A “controls” package was also available for a few dollars supplying the potentiometer, switch, and other small parts necessary for completing the kit (in case your junk box was lacking). For a finished product you could add the fancy aluminum anodized case from the American Morse.
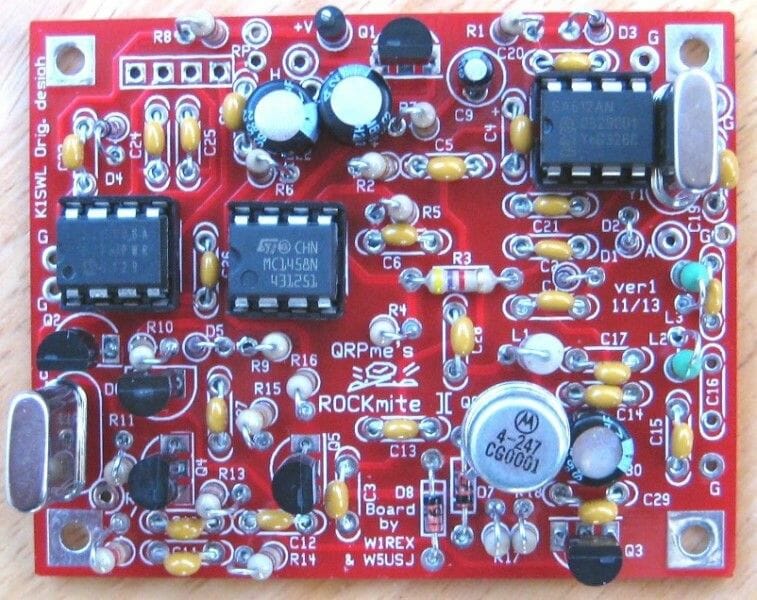
RockMite kit’s latest incarnation
If you wanted to spend a day, not a couple hours, this is an excellent choice for a kit. Ten years ago I organized a kit build for the Westord, Massachusetts club PART using this kit. To help insure new builders would have success I wrote a step-by-step instruction manual for this device. I’ve made it available here, but beware this is for a kit that is no longer available in that form.
RockMite-Assy-Manual
That day in 2008 the Westford club had ten builders working on a Saturday in a church basement. Eight of the radios were working by the end of the day with the others requiring a bit of tender loving care over a few more days. Proud of our accomplishment, I wrote an article for QRP Amateur Radio International’s quarterly magazine entitled “Ten Little RockMites.”
Dave Benson closed his Small Wonder Labs business a few years ago but not before handing the reins over to QRPme founder Rex Harper, W1REX, who has refreshed the lineup of RockMites and even added a few extras for them to the mix. I’ve bought one (or two), but I’ve not assembled them yet so I can’t speak to how well my old assembly instructions have aged. But, since the circuit is essentially the same, I suspect my old instructions, even after all these years, are still a good starting point—especially for new builders. The price is now $50 but the kit includes all the accessories, so it’s a pretty good deal ten years later! I would recommend anything from Rex. By the way, Rex Harper was inducted into the QRP Hall of Fame in 2010. Dave Benson has been in since 1999.
The RockMite is a CW-only radio that is crystal controlled. It supports only two frequencies. Granted, the frequencies are the QRP “watering holes” for each particular band, but still, two frequencies isn’t a lot. That said, one of the best ways to become comfortable with CW is to listen to signals off the air. Listening to signals from a radio you built is thrilling.
What if you’d like a little more from the radio you craft lovingly from your two hands? QRP kits qrpkits.com has several receiver, transmitter, and transceiver options. One of these kits is from a Steve Webber, KD1JV, design. The KD1JV Triband CW Transceiver comes in a nice case, has three bands (you choose which three), and outputs five Watts. This will set you back $225, but there is a lot of radio here to enjoy, both building and operating.
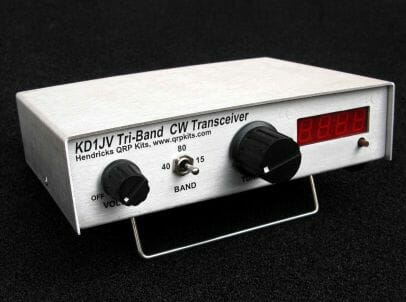
KD1JV Tri-Bander CW Transceiver
Alas, the radios I had in mind when I began writing this article have been discontinued. The Elecraft K1 and the KX1, both excellent kits and radios in their days, probably died more from a lack of through-hole part availability than from neglect.
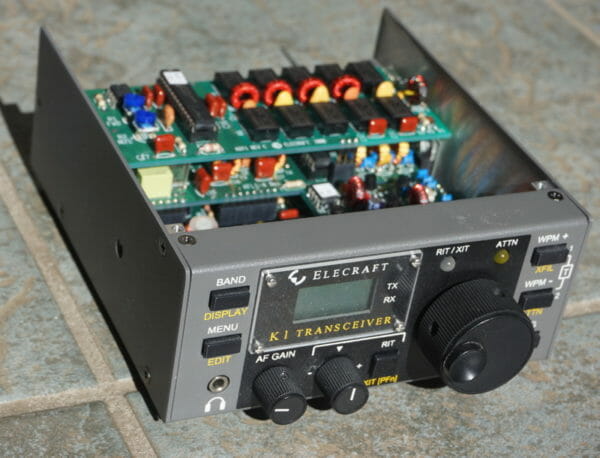
Elecraft K1 built by NE1RD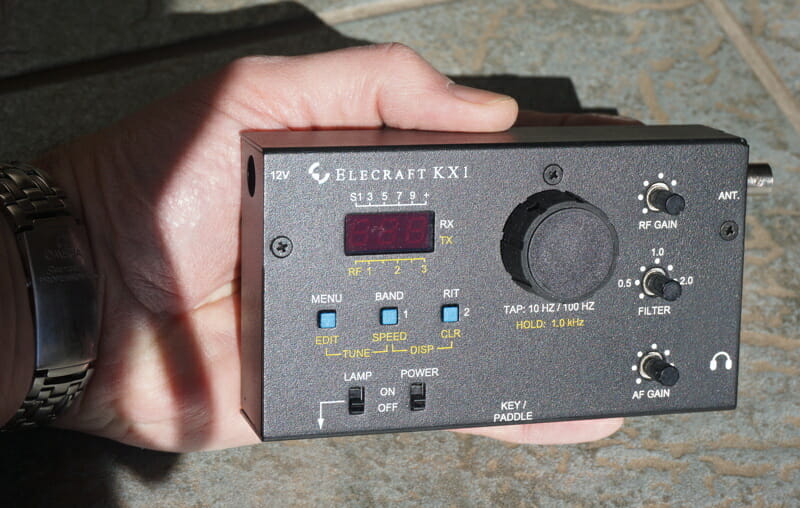
Elecraft KX1 built by NE1RD
Elecraft, before they became the top-tier HF radio (assembled) maker was the premier radio kit supplier to the hobby. The K2, a very capable radio you can assemble yourself, supports CW and phone, bands 80-10m (with a 160m option), rig/computer control, and filtering. There is even a DSP option for the radio. This kit is an investment in both time and money. I have built two of these radios and each one took over forty hours to complete. But, when you’re done, you have a fully-functional radio that would compete with anything you could buy on the market.

Elecraft K2 built by NE1RD
Unfortunately, or, perhaps, fortunately, radio technology has advanced significantly since the K2 was designed. Now you can get a DSP-based Icom 7300 transceiver with top-notch specs for under $1000. So, one wouldn’t build a radio like the K2 for performance alone. You’d build one for the joy of the experience. I must say that the time I spent building my Elecraft radios was some of the best memories I have in the hobby.
I encourage all of you to step up your game. Pick one of these larger kits. Spend a day, or a week, building something substantial. The sense of accomplishment you’ll have cannot be overstated.
I’ll be adding more articles about specific kits over the next year in hopes of coaxing members to step up their kit building game.
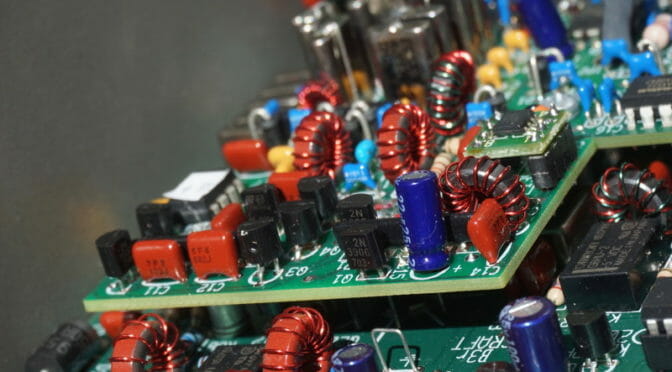
K2 close-up by NE1RD
March 22, 2019


